If you spin up an NGINX server in Docker, you will be live in 30 seconds. The catch? Attackers can also find you almost as quickly.
That ease of use is why about 33.8% of all websites now run on NGINX. However, system intrusion, social engineering, and basic web application attacks make up 74% of confirmed breaches, and mis‑tuned or exposed web servers are often the first door they try. In other words, speed alone won’t keep your stack safe. If a default header or open route slips through, an automated bot can hit it within seconds of it being exposed online.
This guide shows you how to build a production‑ready nginx docker image from scratch with hardened configs, sensible defaults, and zero surprises on deploy day. Then we’ll level‑up security by dropping a web application firewall (WAF) into the same container, turning your basic proxy into a self‑defending gateway for microservices and APIs.
What is an NGINX Docker image?
An NGINX Docker image is a self-contained, portable, and lightweight unit that packages the NGINX web server together with its dependencies, such as the base OS, default configurations, and exposed ports (80 & 443), into a single, executable container image.
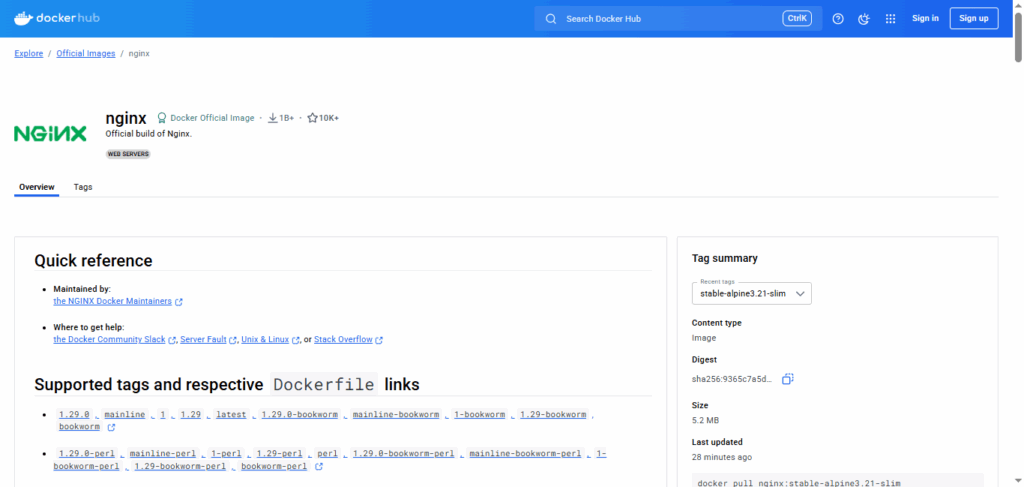
The official NGINX image on the Docker Hub container registry is a great starting point. The NGINX team regularly maintains and updates the image for patches, and it is optimized for a minimal footprint. There are several variants of the image available to suit different use cases.
- **nginx:<version>**: The de facto image you can use directly or as a base image to build other images. Better suited if you are unsure about the requirements.
- **nginx:<version>-alpine**: An image based on Alpine Linux, ideal in use cases where you want the final image size to be as small as possible.
- **nginx:<version>-slim**: Contains only the bare minimum packages needed to run NGINX.
The official NGINX Docker image is ideal for quick and minimal setups. However, building a custom image gives you more control for use cases like custom routing logic, serving static files, reverse proxy settings, and added security configurations.
Why Use Docker with NGINX? Key Benefits for DevOps Teams
Using NGINX with a containerization solution like Docker in cloud-native settings enables DevOps teams to spin up reproducible environments, quickly test custom configurations, and reduce friction in the CI/CD pipelines. It also makes implementing core infrastructure patterns like load balancing and reverse proxying to backend services straightforward.
Key benefits that make Dockerized NGINX a DevOps favorite include:
- Portability and consistency across environments: Docker containers package NGINX and its dependencies into a single portable and shareable unit. Docker images abstract away the host OS and ensure that your NGINX setup runs identically on a developer’s computer, staging server, or in production.
- Simpler deployments: With Docker, you can easily scale the NGINX deployments by creating multiple container instances to spin up extra NGINX replicas behind a load balancer (NGINX defaults to round-robin).
- Resource efficiency: NGINX on Alpine Linux usually results in images as small as 10 MB–25 MB. This lightweight nature reduces resource consumption and, in turn, reduces infrastructure cost.
- Isolation: Each container has its own file system, network, and resources. So, running NGINX with Docker provides the process and network isolation needed for safe experimentation with minimal risk to other applications.
While Dockerized NGINX delivers speed and consistency, ensuring strong web application security is just as critical — especially when running microservices and APIs.
Getting Started: What You Need Before Building an NGINX Docker Image
Below are several prerequisites for an NGINX Docker build.
1. Install and run Docker
Download and install the Docker Engine for your OS from Docker. You can use the following commands to check whether the installation is successful.
docker –version
docker run hello-world
2. Project directory structure
Logically separate the configuration and content from the build logic. You can follow a common and simple directory structure:
nginx-docker/
├── Dockerfile
├── nginx.conf
└── html/
└── index.html
3. Basic command line familiarity
Get familiar with CLI commands to build, tag, and run images.
4. Understanding of Dockerfile
The Dockerfile defines the build steps of an image. Being familiar with instructions like FROM, COPY, RUN, and CMD is a bonus. Understanding the Dockerfile and keeping configurations lean is part of good container vulnerability management, helping you reduce the attack surface before deployment and it gets even easier when engineers share a common baseline on attacker tactics and hands-on offensive security fundamentals.
5. Docker account
Only needed to push to Docker Hub or access private repos.
6. A text editor or an IDE
This example will use Visual Studio Code.
6 Steps to a Successful NGINX Docker Image Setup
Follow these key steps to set up an NGINX Docker image from scratch.
Step 1. Download the Official NGINX Docker Image
Start by pulling the latest NGINX official image from the Docker Hub.
docker pull nginx:latest

It contains the default configuration. This image is ready to serve content immediately. You can verify whether the image was pulled successfully using the command below.
docker images

Another tip is to pin a specific tag (e.g., nginx:1.27.1‑alpine) for repeatable builds instead of latest.
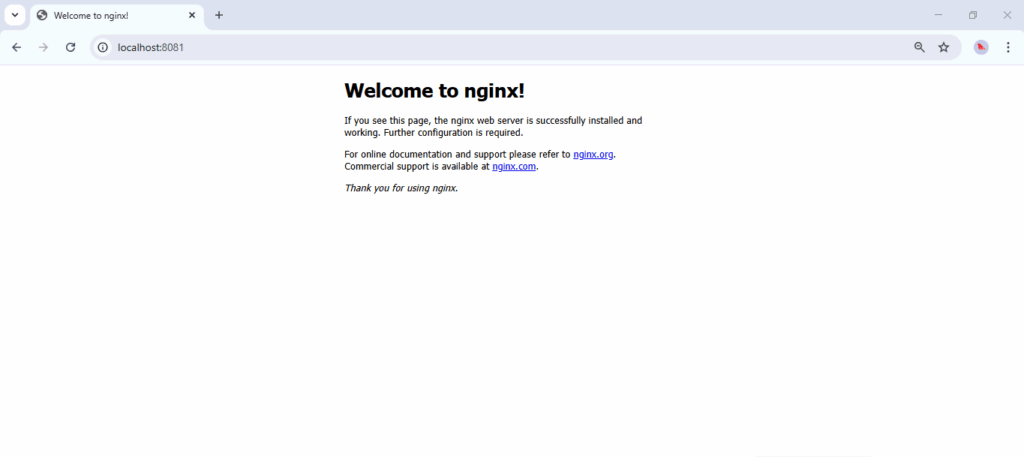
Step 2. Run a Basic Web Server
You can use the following command to run and test the default setup.
docker run -d –rm –name web -p 8080:80 nginx
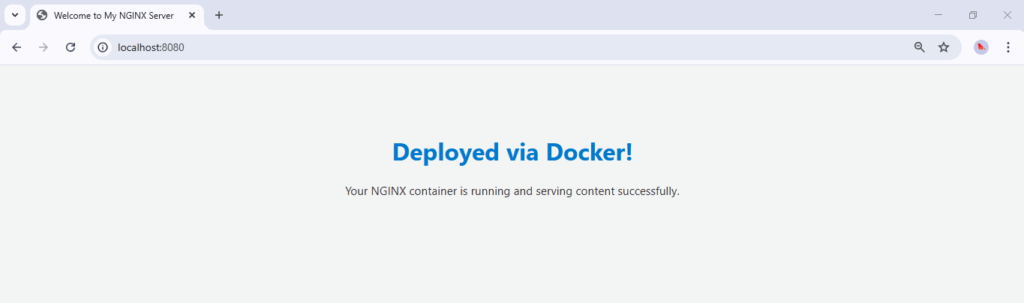
Use -p to specify the port and –name to define the container name. Visit http://localhost:8080/ to see the NGINX default welcome page. It is helpful as an initial validation to ensure the default setup is successful.
Step 3. Build a Custom NGINX Image
Now that the official image is working, start by creating a Dockerfile to build a custom NGINX image with the official image as the base.
FROM nginx:latest
COPY html/ /usr/share/nginx/html/
The FROM command defines the base image we use, whereas the COPY command instructs you to copy a custom index.html file into the /usr/share/nginx/html/ directory. This way, the default index.html is overwritten to serve the custom content.
Next, within the html directory you previously created, create an index.html file.
<!DOCTYPE html>
<html lang=”en”>
<head>
<meta charset=”UTF-8″ />
<title>NGINX Server</title>
<style>
body {
text-align: center;
padding-top: 5rem;
background-color: #f4f4f4;
color: #333;
}
h1 {
font-size: 2.5rem;
color: #007acc;
}
p {
margin-top: 1rem;
font-size: 1.2rem;
}
</style>
</head>
<body>
<h1>Deployed via Docker!</h1>
<p>Your NGINX container is running and serving content successfully.</p>
</body>
</html>
Step 4. Build and Run the Custom NGINX Image
Provide a name for the custom image and execute the following build command.
docker build -t <image_name> .

Once the build is complete, use docker images to check whether the build is successful.

Run the image and visit http://localhost:8080/ to check out the result.
docker run -it –rm -d -p 8080:80 –name <container_name> <custom_image_name>

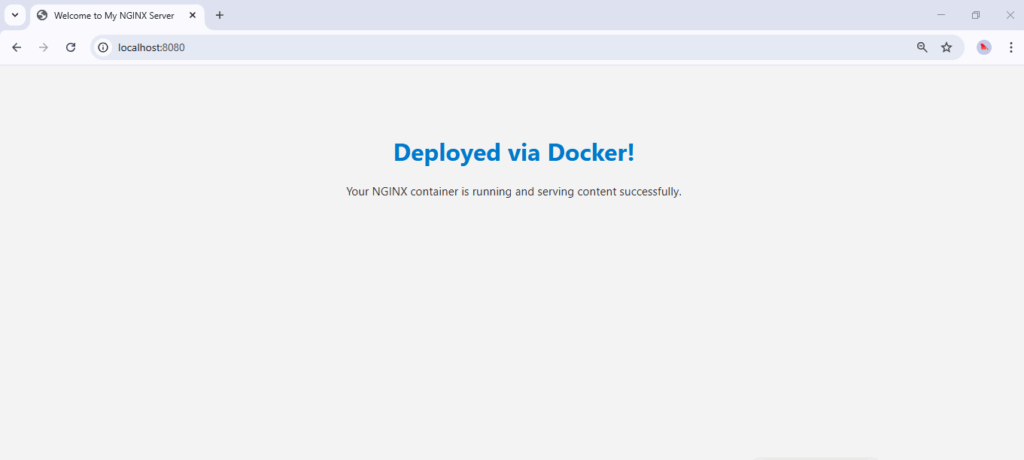
Congratulations! Your NGINX container is running and serving content successfully.
Step 5. Set up a Reverse Proxy Server
Let’s take it a step further and update the default NGINX configurations to set up a simple reverse proxy server. A reverse proxy behaves as an intermediary between the clients and servers and provides an additional layer of security when managing traffic.
Create an nginx.conf file.
events {}
http {
server {
listen 80;
location / {
root /usr/share/nginx/html;
index index.html;
}
location /api/ {
proxy_pass https://myapi.com;
proxy_set_header Host $host;
}
}
}
Update the Dockerfile to copy the updated configurations.
FROM nginx:latest
COPY html/index.html /usr/share/nginx/html/index.html
COPY nginx.conf /etc/nginx/nginx.conf
Rebuild and run the container.
Now, you should be able to see the custom HTML page at http://localhost:8080/, and when accessing http://localhost:8080/api/, NGINX will forward the request to the relevant server and return the response.

Step 6. Push to Docker Hub
If you want to share the custom image with your team members, you can push the image to Docker Hub. This step will also make the image version-controlled, making it easier to update or rollback.
Firstly, log in with your Docker Hub credentials.
docker login -u <username>
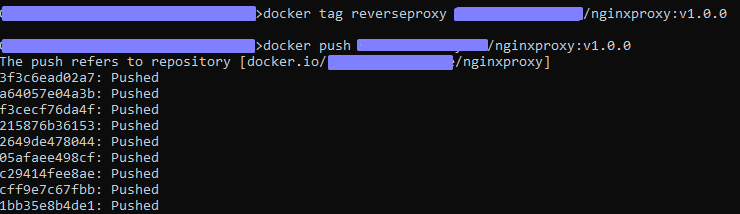
Create a repository by navigating to the Repositories section of Docker Hub. Follow the username/repository:tag format when adding a tag or pushing a Docker image.
# Tag your local image
docker tag <custom_image_name> <username>/<repo_name>:<tag>
Be sure your image tag matches your Docker Hub repository name
# Push the exact same name:tag
docker push <username>/<repo_name>:<tag>

Bonus Tips: Scaling and Monitoring Your NGINX Docker Setup
Running a single NGINX container is a great start, but production-grade environments often require more resilience and observability.
1. Automate Deployments with CI/CD
Integrate your NGINX Docker build into a CI/CD pipeline (e.g., GitHub Actions, GitLab CI, Jenkins). Automating builds and deployments ensures:
- Consistency: Each environment (dev, staging, prod) runs the same image.
- Faster Recovery: Quick rollbacks in case of misconfigurations.
- Security Checks: You can integrate vulnerability scans on each build before pushing to production.
2. Add Centralized Logging & Monitoring
Visibility is critical for debugging and security auditing:
- Logging: Mount volumes to export access/error logs to a centralized system (e.g., ELK Stack, Graylog).
- Metrics: Use Prometheus and Grafana to monitor request rates, error codes, and latency.
- Alerts: Set up thresholds for unusual spikes, which could indicate a DDoS attempt or misconfiguration.
3. Scale with Docker Compose or Kubernetes
For high-traffic environments, scale beyond a single container:
- Docker Compose: Spin up multiple replicas and load-balance traffic between them.
- Kubernetes: Run NGINX as a Deployment behind a Kubernetes Service, enabling auto-scaling and rolling updates.
4. Secure at the Network Layer
While NGINX Proxy Manager and Docker provide basic isolation, consider:
- Restricting exposed ports to necessary services only.
- Using network policies in Kubernetes or Docker bridge networks for tighter control.
- Pairing with a WAF/WAAP (or API security gateway) to block malicious traffic before it reaches your apps.
How to Secure Your NGINX Docker Image with a WAF
Even the most efficient dockerized NGINX setup remains exposed and vulnerable when it lacks proper security protocols. Application-layer threats like SQL injection, cross-site scripting (XSS), and remote code execution exploit these vulnerabilities within your app or its routing layer. However, a traditional reverse proxy can’t detect or block these on its own.
This is the reason why a WAF is essential. It adds a robust layer of security, detecting and mitigating OWASP Top 10 and zero-day attacks. Look for one designed specifically for modern, containerized environments like Docker or Kubernetes, preemptively providing web app and API threat protection.
If you’re evaluating options, Cybermatch helps security teams compare tools side-by-side using transparent criteria, build a shortlist, and export comparisons for stakeholders so you can pick a solution that matches your architecture and your team’s capacity to run it.